When facing a backflow issue, the first question that comes to mind is how to install a check valve. This issue is more prominent in hydraulic cylinders, plumbing systems, and gas lines. A backflow of liquid or gas can damage the internal parts of your machinery. In such cases, check valves come in handy in solving this problem. These valves ensure the proper flow of the liquid, but many people don’t know how to install them. Are you facing the same problem? Worry not! This comprehensive guide will lead you through the check valve installation process. Let’s get started!
Overview of check valve
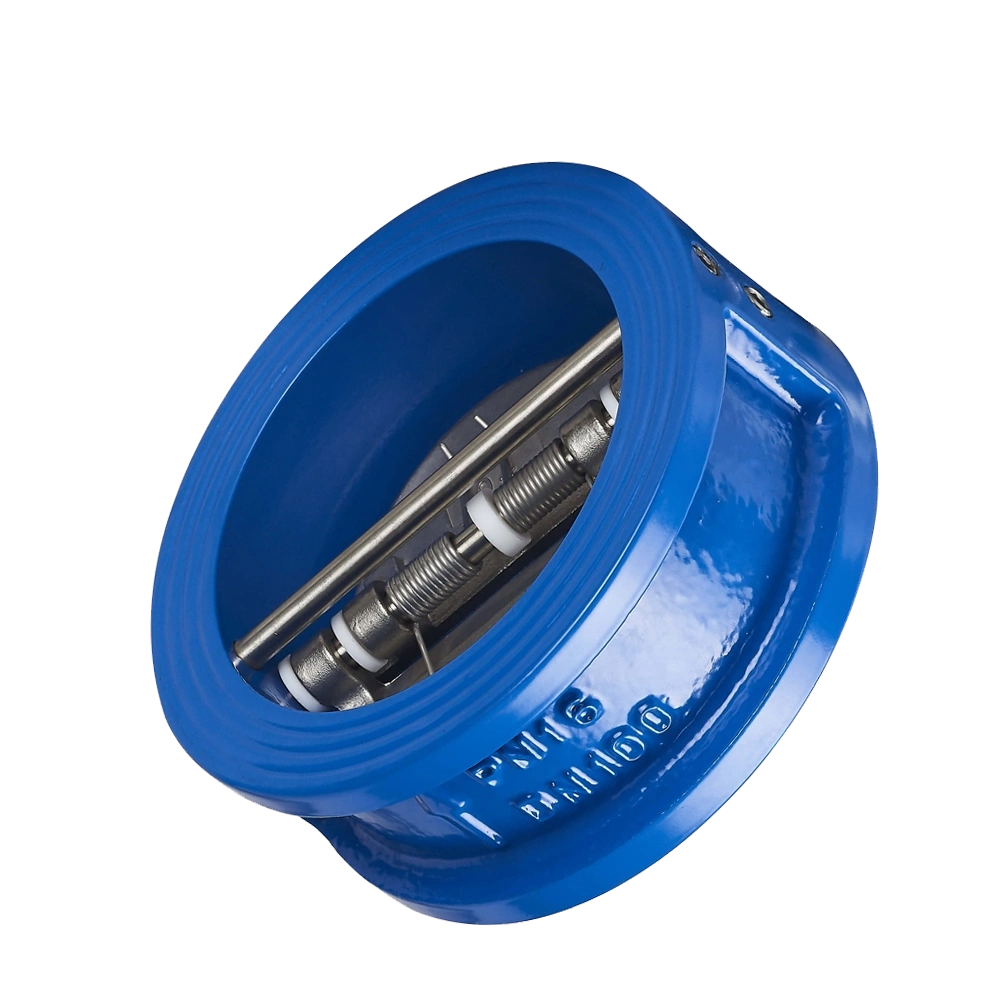
A check valve helps prevent the backflow of the liquid. It has a straightforward design with two openings. One opening is for entering the liquid, and the other is for exiting. The check valve has a self-regulating design. It means this valve automatically opens and shuts down to ensure a one-way flow of the liquid.
Installing these valves correctly is crucial for the operation of several machines. They prevent the backflow of liquid that harms the machine’s parts. For example, due to the sudden backflow of the fluid, pressure in the machine increases to an extreme level. This high pressure ruptures different parts of machines and affects the nearby environment. Let’s dive down and discuss the installation process in upcoming parts.
Tools and Materials Needed for Installation of Check Valve
The check valve installation process requires some tools. Without them, it can never be completed smoothly. Here are the names and details of each tool.
- Valve Type: Many types of check valves are available in the market. Each is suitable for different situations. Some examples include lift check valves and swing check valves. You must select the right type for your specific application.
- Wrenches: A wrench ensures that the check valve is tightened. There is also a variety of wrenches. To install the check valve, you need adjustable and pipe wrenches. A pipe wrench is ideal for holding the pipe in case of plumbing. However, an adjustable wrench is flexible for tightening different sizes of nuts.
- Pipe Cutter: Sometimes, the valve size and pipes are incompatible and don’t adjust. In such cases, these pipe cutters are used. These cutters effectively cut the pipe in a measured way. It will help in fitting the valve on this pipe.
- Pipe Sealant: Pipe sealant plays a vital role in preventing leakage. It is used after you have installed the check valve. It is in liquid form and easy to apply. However, you can also use Teflon tape as an alternative.
Quick Highlight: Check valves are versatile tools. They can be used in hydraulic machines, water supplies, and gas transport systems. So, you should use safety tools before starting the process. Those include goggles and gloves. They will help you install the valves effectively.
How To Install a Check Valve? Step-by-Step Process
Have you gathered those tools and selected the best check valve type for your needs? Let’s move on to the central part, which is the installation process.
Step 1: Turn Off the System
Before starting the installation process, turn off the whole operating system. All machines have different setups for turning it off. For example, some systems connect to electricity, and some use a lever system. You may wonder why the system needs to be turned off.
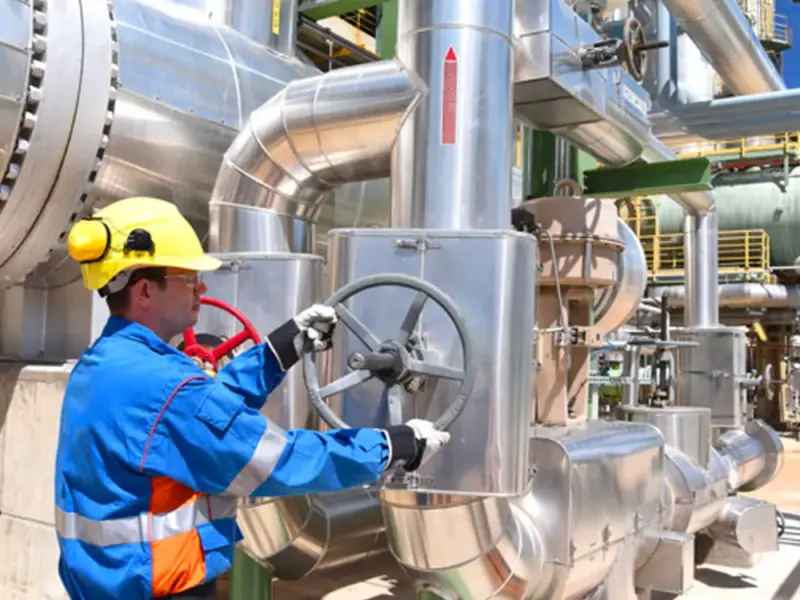
The answer is straightforward. It ensures your safety and proper installation. Starting the installation process by switching off the system can cause many issues. Water flow can hinder installation in water supply lines, and it can be even more dangerous if you install it on gas transportation lines.
Furthermore, correctly installing the check valve is impossible if you don’t turn off the system. WHY? Because when the system is on, the fluid pressure is also high. Installing the check valve under such high pressure is challenging and directly impacts installation.
Step 2: Locate the Installation Point
The next step is locating the installation point. This is the point where you need to prevent the backflow of liquid. All systems have different installation points for a check valve. However, in hydraulic cylinders, it is present near the pump.
But the question arises: why is it essential to locate that point? Installing points ensures the proper functionality of the system. If you install the check valve at the wrong end, it will affect the entire fluid flow.
You should install the check valve in an easy-to-access location. This will help you maintain these valves in the future. Moreover, your newly installed valves should not affect the functionality of the nearby valves.
Step 3: Check the Quality and Prepare the Pipe
Once you’ve chosen the installation point, it is time to check the pipe’s condition. Generally, machines and supply lines consist of very old pipes, which get weak over time due to corrosion and other factors.
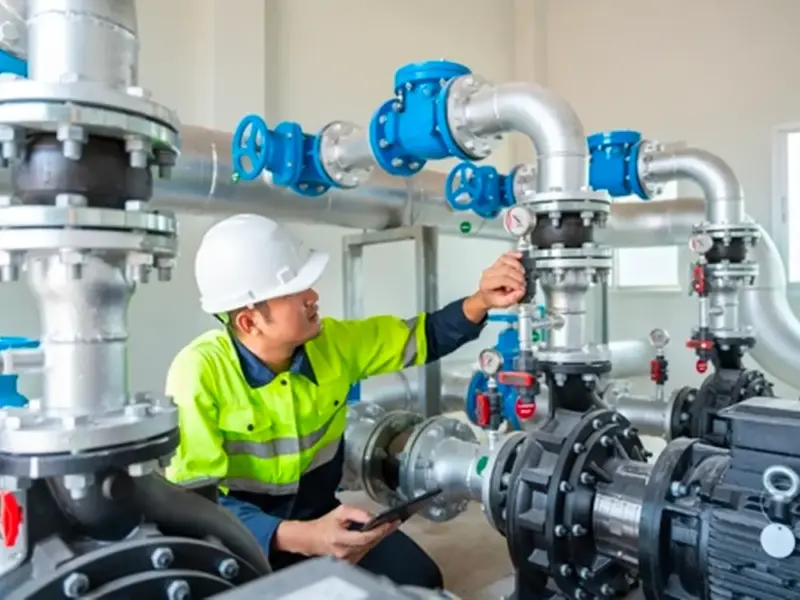
You should check the pipe to ensure it is in good condition. If you see any wear, replace it with a new one. Purifying the pipe is also really important. For this, turn off the liquid supply and rinse with water. After that, dry it completely, then start the installation.
Sometimes, the pipe size does not match the size of the valve. So, it is crucial to cut the pipe in a measured way. Ensure that the pipe and check valve size are precisely aligned. In case of any misalignment, the liquid will drain out.
Step 4: Install the Check Valve
Finally, we have reached the crucial step of installing the check valve, which requires attention. When you have prepared the pipes, attach the check valves to one end of the pipe. Here are some considerations you should keep in mind. First, check the check valve’s right flow direction.
Most check valves have an arrow sign indicating the direction of liquid flow. Install the check valve in this direction, paying close attention to the instructions. Moreover, some valves are designed to be installed vertically, and some are horizontally.
The valve box contains all the installation guidelines, which you should carefully read. If you are installing it on a machine, read the machine’s user manual. It will tell you which type of valve can be installed on that machine. Once the valve is installed, you can connect it to the other end of the pipe and seal it properly.
Step 5: Tighten the Connections
This step ensures the check valve’s proper functioning. Proper tightening prevents leakage and helps the valve withstand high pressure. Try hand-tightening as the initial step. Hand-tightening enables you to check the appropriate alignment of the pipe and valve. After that, use the wrench.
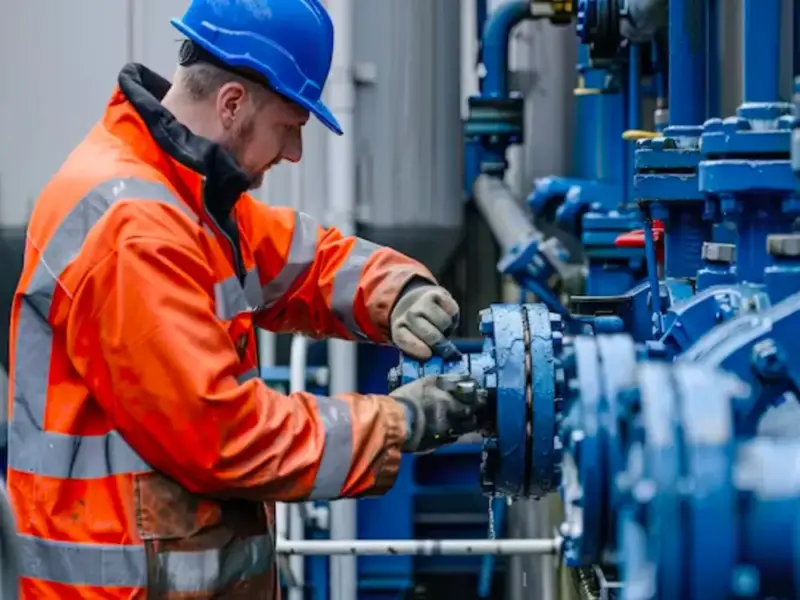
This process uses two types of wrenches. Ensure you have the proper size wrenches that do not slip during holding or tightening. Finally, one wrench is used for holding and the other for tightening. Tightening of valves ensures there won’t be any sort of leakage from the valve’s location.
Step 6: Test the System
This is the final step to ensure you have installed the check valve correctly. Turn on your machine’s operating system. Keep your eyes on the check valve. When liquid passes through the check valve, inspect for leakage. Then, examine the direction of the fluid.
Ensure that the fluid passes in one direction and does not come back. Additionally, observe unwanted noise. This noise is due to the sudden change in the liquid pressure. If you don’t hear any noise, the valve installation is done correctly.
You should check the backflow further as the final and most crucial step. For this purpose, drain some liquid on the downstream side of the valve. Make sure that the valve does not allow it to pass. After checking all these parameters, your check valve is ready to work.
Frequently Asked Questions
Can a check valve be installed vertically?
Yes, check valves can be installed vertically. However, it depends on the type of the valve. For example, spring check valves are installed vertically. Moreover, they are opened and closed by the action of gravity.
Can a check valve be installed horizontally?
Yes, you can install check valves horizontally. Some check valves, like swing valves, are designed for horizontal installation. If you install these valves in another direction, they affect the fluid’s whole flow.
How much does it cost to install a check valve?
The total cost of check valve installation depends on many factors. It mainly depends on where you are installing the valves. If the installation point is easy to access, the cost would be lower and vice versa. Moreover, it also depends on labor costs. The range of cost can be around $100 to $300.
Conclusion
The installation of the check valve requires a careful approach. A minor mistake can affect the machinery’s efficiency. This article has discussed a step-by-step procedure for installing check valves. If you are a noob, you should not start installing these pipes at a professional level. It requires some practice.
It is recommended that you understand how check valves work first. This will help you know how to install them so that they work smoothly. You should always be careful about leakage issues. If you notice any problem with the valve over time, replace it with a new one. Each check valve has its specific life.

