
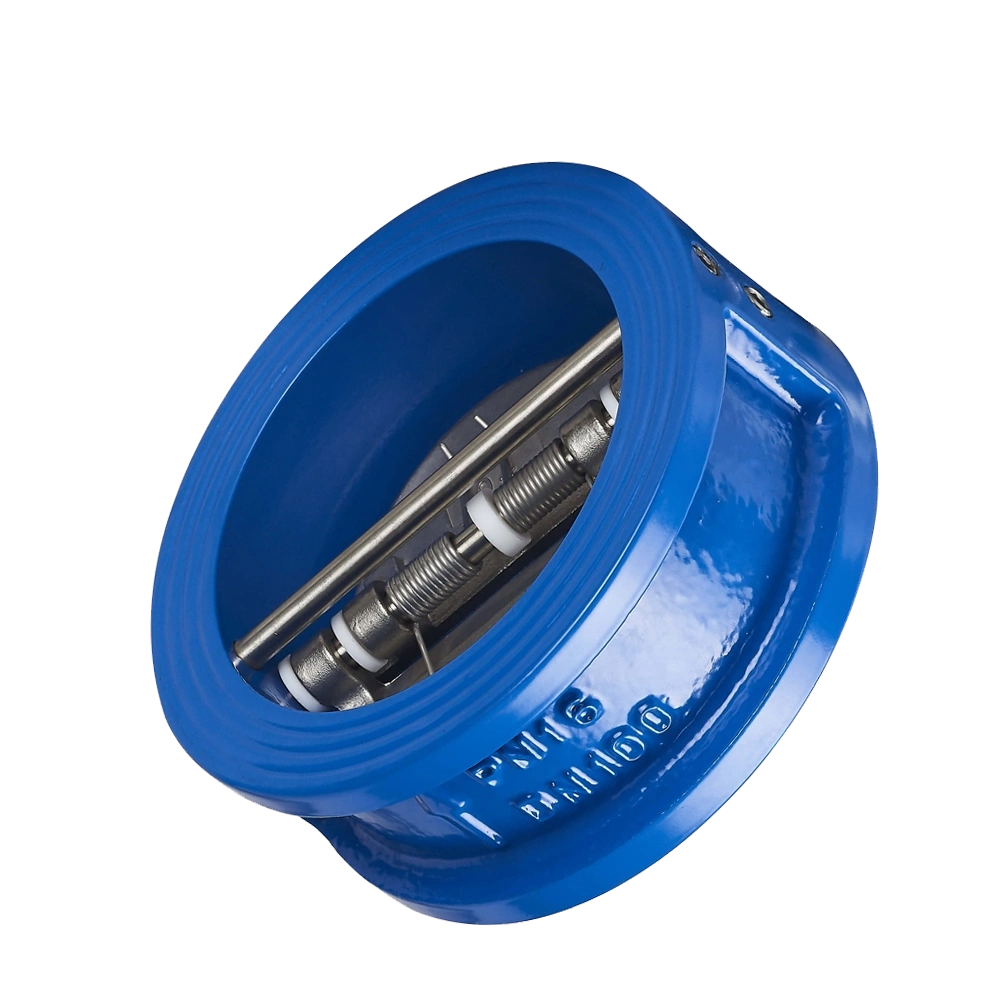
Check valves are a must-have in many systems today. They act as a safety valve that ensures that fluid or gas flows only in one direction and prevents backflow. As these valves operate automatically, most people rarely think about them until something goes wrong. But the best thing is that when something goes wrong, the check valve shows clear signs. These signs might look small and not dangerous at first, but if you ignore them, they will grow into bigger problems. To prevent all this, I will discuss 8 bad check valve symptoms in this guide. You will also know about their causes and how to repair them. So let’s get started.

Bad Check Valve: 8 Common Symptoms & Causes
Like any other device, check valves are not meant to last forever. As they work under high pressure and harsh fluids, they may be damaged and show signs of wear. But before these valves completely stop working, they often give earlier signs and symptoms. When you understand those signs at the first stage, it becomes much easier to cope with them. So let’s dive in and discuss the most common bad check valve symptoms and their causes.
Symptom 1: Reverse Flow
The first major symptom of a bad check valve is reverse flow. As I said above, check valves are designed to allow fluid or gas flow only in one direction. But when it fails, the fluid starts moving backward. This is what we call reverse flow. This reverse flow puts stress on the pumps, pipes, and other equipment. As a result, they begin to deteriorate, and you have to repair them frequently.
Causes and Failure Signs
There are several reasons that cause reverse flow. The major one is that dirt and dust accumulate inside the valve. These dirt particles prevent the valve from sealing tightly, which allows fluid to backflow. In some cases, the internal spring, disc, or seal may wear out or become damaged after years of use. When this happens, you will see the pump lose pressure, and it might start or stop more often.
Symptom 2: Water or Fluid Leakage
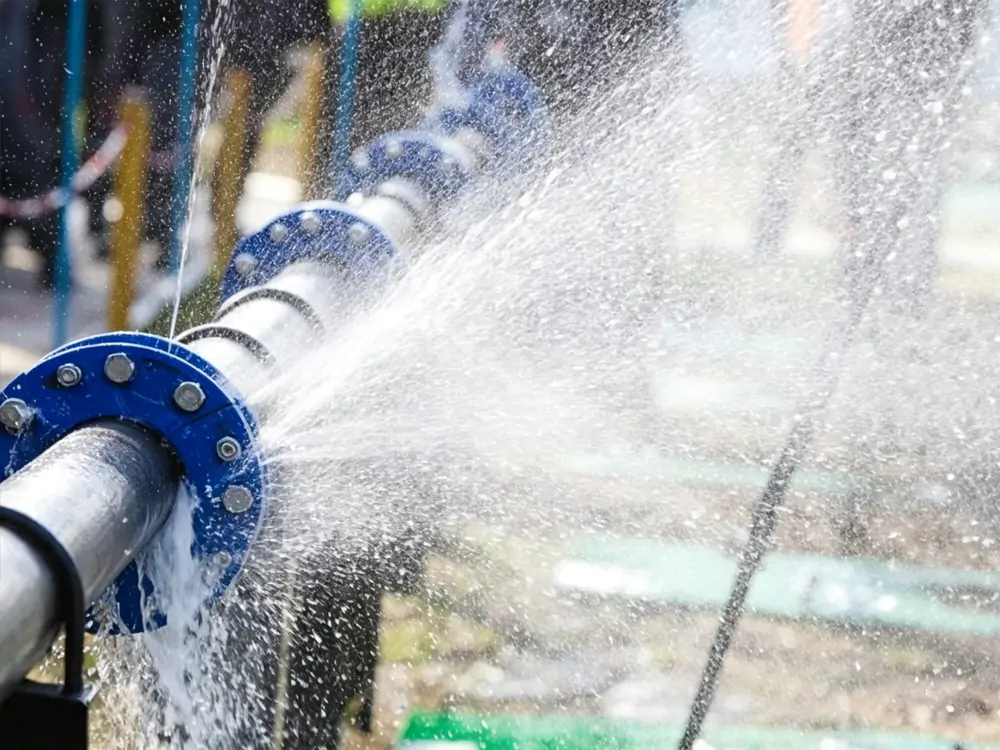
Water or fluid leakage is another sign that a check valve is failing. A check valve basically has a sealing system, such as a disc that sits against the rubber seat. This system creates a tight seal that prevents the fluid from flowing backward. But if that sealing wears out, you will notice water, oil, air, or another fluid leaking around the valve. This gradual leaking drops the system’s pressure and reduces its performance.
Causes and Failure Signs
The main cause of this symptom is that the internal seal, disc, or seat wears out after repeated use. Also, if dirt particles are inside the valve, they prevent it from closing completely. In some cases, the valve body can develop small cracks because of corrosion. These cracks also allow fluid to leak. One sign of this problem is leakage around the valve. But that leakage can also be internal, which is difficult to notice. So you often notice the pressure loss, and the pump runs more often than usual.
Symptom 3: Unusual Noise
A check valve typically operates quietly, so you will not notice any noise when it is running properly. But if you suddenly hear unusual sounds coming from the valve or nearby pipes, it is a sign that something is wrong. These noises can be clicks, rattles, knocks, bangs, or vibrations. You should not ignore these noises as they are signs of vibration. This constant vibration wears out the internal parts.
Causes and Failure Signs
The major cause behind noise in the check valve is trapped dirt and dust inside the moving parts. These parts stop moving smoothly, which creates noise. Moreover, over time, the spring, disc, or hinge wears out, causing loose movement during operation. Sometimes, high flow speed and water hammer force the valve to open and close too quickly, creating a loud noise. As a failure sign, you will notice the pipes shaking or vibrating along with the sound.
Symptoms 4: Pressure Loss
Now there is pressure loss that shows the signs of a bad check valve. No doubt, the major job of check valves is to prevent backflow. But at the same time, it also maintains the right pressure inside the system. However, sometimes the valve does not seal properly, which ultimately leads to pressure loss. As a result, the other parts have to work harder, which might increase the frequency of repairs.
Causes and Failure Signs
As you can see, this problem occurs due to faults in the sealing. Right? So often, the debris and dust trapped inside the valve leave small gaps that allow fluid to pass through. Further corrosion also damages the internal valve parts. As a result, it remains partially open, and pressure might be lost. In this issue, you will see water coming out of the taps or pipes. Also, the pump takes longer to build pressure and runs more than normal.
Symptom 5: Reduced Flow Rate
A reduced flow rate is also a clear sign that the check valve is not working as it should. When a check valve is in good condition, it opens fully as fluid moves in the correct direction. This allows the fluid to pass through with very little resistance. However, if the valve does not open fully, it automatically blocks the fluid from flowing through. The amount of fluid passing through becomes lower than normal. This lower flow rate forces the moving part to work harder, increasing energy consumption.
Causes and Failure Signs
The first sign of a reduced flow rate is reduced valve performance. Water comes out of faucets, sprinklers, or hoses more slowly than before. You may also notice that tanks take longer to fill and that other parts take longer to complete their tasks. For example, the pump is running continuously, but the expected amount of fluid is not reaching the system.
The main cause of reduced flow rate is the buildup of dirt, rust, sand, or mineral deposits inside the valve. They narrow the flow path, making it difficult for fluid to move freely. Additionally, if the check valve you choose is too small, it will reduce the flow rate.
Symptom 6: Pump Frequently Starts and Stops (Pump Cycling)
If your pump starts and stops more often than usual, a faulty check valve is most probably the reason. This problem is called pump cycling. Actually, under normal conditions, when a pump builds up enough pressure, it shuts off quickly. After that, it stays off until the system needs more water or fluid.
However, if the check valve is faulty, it cannot hold the fluid in place after the pump stops. Now the fluid starts to flow backward, and the system pressure decreases. To rebuild this pressure, the pump turns on automatically again. After the pressure increases, the pump shuts off again. This remains continuous until you remove the issue.
Causes and Failure Signs
One common reason for pump cycling is worn-out seals. This seal allows the fluid to flow backward, which causes the pump to cycle on and off frequently. Moreover, if the check valve closes too slowly after the pump stops, fluid starts moving backward as well. The failure sign mainly shows that the pump keeps turning on and off. Instead of staying off for long periods, it starts every few minutes or much more often than it used to.
Symptom 7: Valve Stuck Open or Closed
A check valve has automatic operation. It shuts off when the fluid tries to move backward and opens when the fluid moves in the right direction. This opening and closing action happens every time the system operates. However, if the valve becomes stuck in one position, it will be unable to control fluid flow. It might remain fully open, fully closed, or only partially open, which is a sign that the check valve is faulty.
Causes and Failure Signs
A check valve can become stuck for several reasons. The main one is corrosion or rust buildup on the valve’s moving parts. This buildup does not allow the disc to move freely, and it is stuck in one position for a long time. Also, if those parts are damaged or bent under high pressure, this problem arises quickly. In its sign, you can clearly see that the fluid flows backward when the valve is stuck open. However, if stuck in a closed position, the fluid will not be able to flow at all.
Symptom 8: Vibration in Pipes
The pipes connected to the check valves often remain calm. A slight movement or vibration is still normal due to higher pressure. But in case a pipe is shaking and vibrating for a long time, that’s not normal. This vibration puts stress on the moving parts and loosens the connection. As a result of all this, the fluid begins to leak, and the valve shows signs of wear.
Causes and Failure Signs
The most common cause of pipe vibrations is a valve opening and closing too quickly. Instead of moving in a controlled way, the valve repeatedly opens and shuts as the fluid flows through it. This behavior creates sudden changes in flow and pressure. The change in pressure sends small shock waves through the pipes, causing them to vibrate. One of the first signs is feeling the pipes shake when the pump starts or while fluid is flowing. You will also hear a rattling or knocking sound coming from the pipes along with the vibration.
How to Repair a Bad Check Valve: Repair Guide
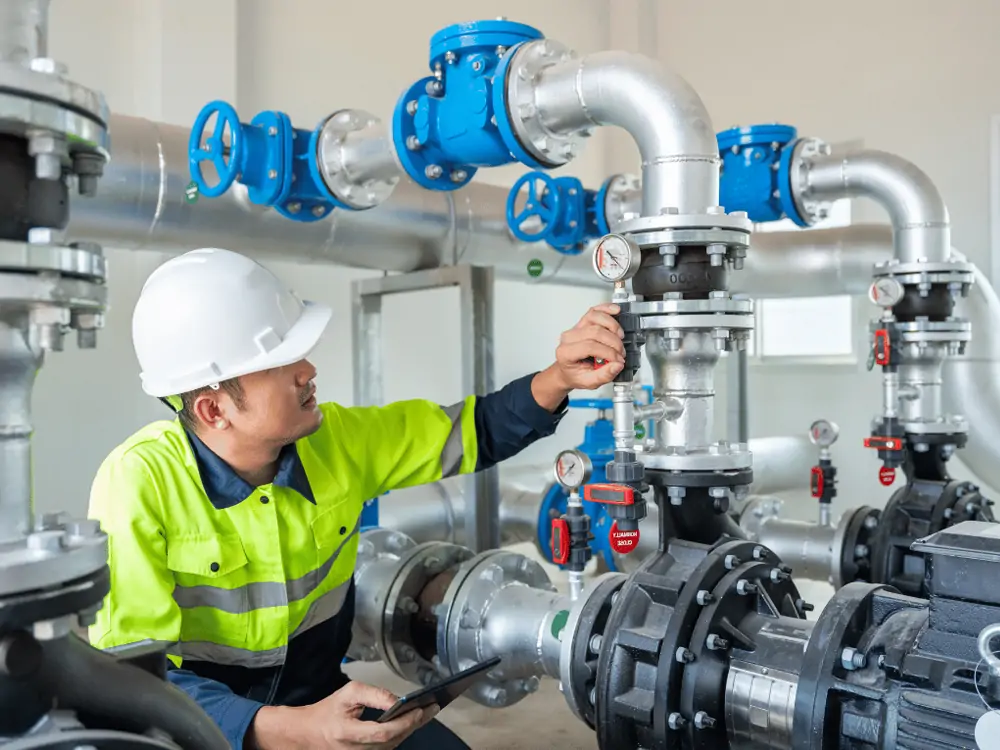
Now you know the main symptoms and causes behind a bad check valve. Right? But repairing a bad check valve depends on what is causing the problem. In some cases, replacement or cleaning is enough to make the valve work again. However, sometimes repairing is crucial. In that case, you have to follow these steps.
-
Turn off the System and Release Pressure:
Prioritize safety before repairing the valve. So first, turn off the entire system and all other connected equipment. After that, release the pressure from the pipelines. However, be very careful in this step, as pressure fluid can injure you.
-
Remove and Inspect the Check Valve:
Once the system is safe after pressure release, remove the check valve. Inspect both the outside and inside of the valve. Look for signs such as cracks, corrosion, worn seals, broken springs, damaged discs, or any other visible damage. Also, check whether dirt, rust, or other debris has collected inside the valve.
-
Clean the Valve Thoroughly:
If you don’t find any major damage, the main issue is likely debris. So remove any rust, mineral deposits, sand, or other materials that are blocking the valve. Make sure the moving parts can open and close freely after cleaning.
-
Replace Worn or Damaged Parts:
After cleaning, you might sometimes find hidden damage. If this damage is on the sealing parts, it is replaceable. So, carefully replace those parts according to the manufacturer’s instructions. Also, make sure the replacement part you use matches the valve model and size.
-
Reinstall the Valve:
After cleaning and replacing the damaged part, it’s finally time to reinstall the valve. Make sure the flow direction arrow on the valve points in the same direction as the fluid flow. Also, tighten all connections properly to prevent leaks, but avoid over-tightening.
Conclusion
Check valves are among the most important safety components in piping systems. They allow the fluid to pass only in one direction. However, like any other device, these valves also face several issues with continuous use. Knowing those problem signs at an early stage is crucial because they become bigger later. That’s why, to make things easier for you, I have discussed some common symptoms of bad check valves and their causes. When you know them, it becomes very easy to cope with them. For example, you can repair the check valve yourself or quickly replace the damaged parts.