Introduction:
Gate valves are essential for various industrial, commercial, and residential applications. They control the flow of liquids by opening or closing a gate inside the valve. Over time, gate valves may experience wear and tear, leading to leaks or operational issues. Repairing a gate valve is a cost-effective way to extend its lifespan and ensure proper functionality. How to repair a gate valve? This comprehensive guide will explore step-by-step procedures.
Understanding the Gate Valve
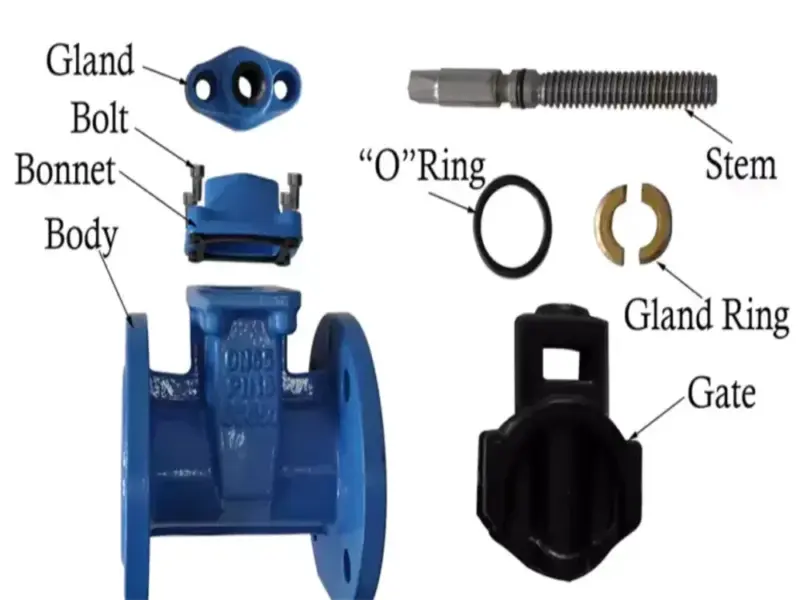
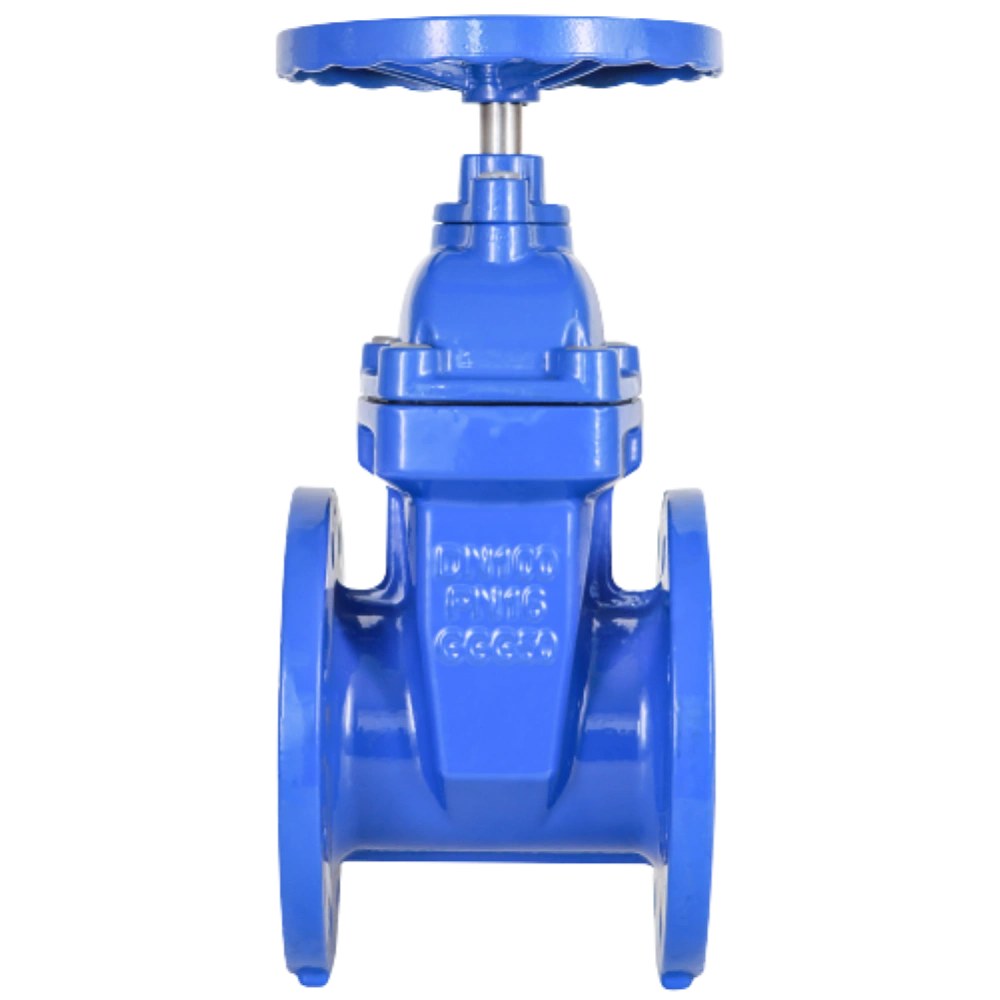
Before diving into the gate valve repair process, it’s crucial to understand the basic anatomy of a gate valve. A gate valve comprises a body, bonnet, gate, stem, and actuator. The gate is the movable part that controls fluid flow through the valve. Regular inspection is essential to identify any signs of damage or malfunction.
How To Repair A Gate Valve?
1. Tools and Materials:
To repair a gate valve, you will need a set of tools and materials, also known as a gate valve repair kit. Ensure you have the following:
- Adjustable wrench
- Pipe wrench
- Screwdriver
- Replacement parts (gate, stem, packing, etc.)
- Pipe sealant
- Pipe thread tape
- Emery cloth or sandpaper
- Pipe cutter
- Grease
2. Step-by-Step Guide
Isolate the Valve
Before starting any repair, it’s crucial to have the gate valve repair kit handy. Remember to isolate the valve from the rest of the system. Turn off the water supply and relieve any pressure in the line.
Remove the Valve from the System
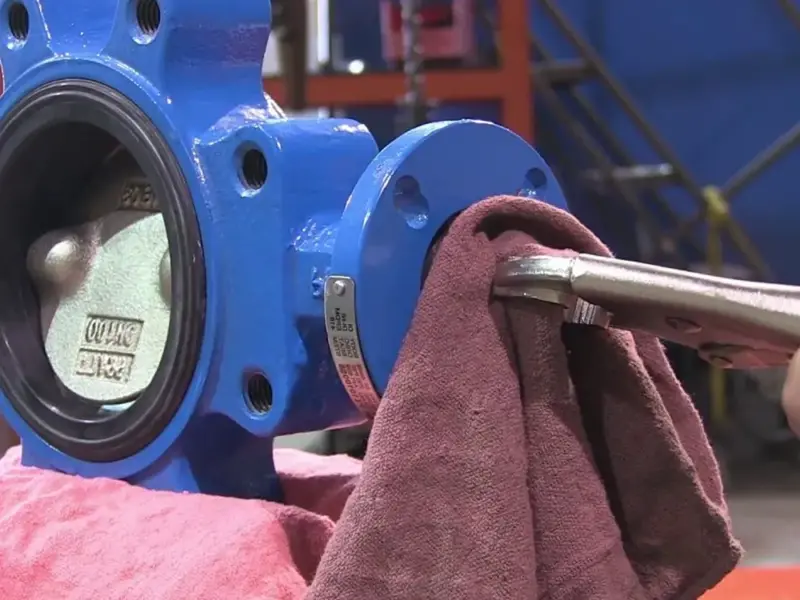
Use an adjustable wrench to disconnect the valve from the pipeline. If the valve is welded, cut the pipe on both sides of the valve using a pipe cutter.
Disassemble the Valve
Start repairing the gate valve by removing the bonnet from the valve body. Use a wrench to loosen and remove the bolts holding the bonnet in place. Once the bonnet is removed, you’ll have access to the gate, stem, and other internal components.
Inspect and Clean

Examine each component for signs of wear, corrosion, or damage. Clean the gate, stem, and body using an emery cloth or sandpaper to remove debris or scale buildup.
Replace Damaged Parts
If any components are damaged beyond repair, like leaking gate valve repair, replace them with new parts. This may include the gate, stem, packing, or gaskets. Ensure that replacement parts are compatible with the specific type and model of the gate valve.
Reassemble the Valve
Carefully reassemble the valve components in the reverse order of disassembly. Tighten the bolts securely, ensuring a proper seal. Lubricate the stem with grease before reinserting it into the valve.
Apply Pipe Sealant or Tape
Before reconnecting the valve to the pipeline, apply pipe sealant or wrap pipe thread tape around the threads to prevent leaks.
Reconnect the Valve to the Pipeline

Use an adjustable wrench to reconnect the valve to the pipeline. Tighten the connections securely, ensuring there are no gaps or loose fittings.
Pressure Test
After the valve is reinstalled, turn on the water supply and conduct a pressure test to ensure no leaks. Monitor the valve closely for any signs of irregularities.
Adjust the Valve
Adjust the gate valve to control fluid flow according to the system requirements if necessary. Use a screwdriver to turn the adjustment nut on the stem.
Regular Maintenance
To permanently fix any issues, you must understand how to repair a leaking gate valve in depth. Also, ensure you have a routine maintenance schedule for your gate valves. Regularly inspect and lubricate moving parts and promptly address any signs of wear or damage.
FAQs- How To Repair Gate Valves?
1. What are the common signs that a gate valve needs repair?
A gate valve may require repair if you notice leaks, difficulty opening or closing, unusual noises during operation, or visible damage to the valve components. Regular inspections are essential to identify these issues early on.
2. Can all gate valves be repaired, or is replacement sometimes necessary?
In many cases, gate valves can be repaired by replacing damaged components such as the gate, stem, or packing. However, replacement may be the more practical solution if the valve is extensively corroded or the damage is beyond repair.
3. How often should gate valves undergo maintenance to prevent issues?
The routine maintenance schedule is crucial to preventing issues with gate valves. Perform inspections and lubricate moving parts in high-stress environments annually or more frequently. This can significantly extend the valve’s lifespan.
4. What types of tools are required to repair a gate valve?
Tools include an adjustable wrench, pipe wrench, screwdriver, pipe cutter, emery cloth or sandpaper, and grease. Additionally, replacement parts, pipe sealant, and pipe thread tape are essential for the repair process.
5. How can one determine the compatibility of replacement parts for a gate valve?
Consult the valve’s specifications and documentation to ensure compatibility with replacement parts. It is crucial. Manufacturers often provide detailed information about the model and gate valve type. This helps users identify suitable replacement components.
6. Are there specific safety measures to follow during the gate valve repair process?
Yes. Safety is paramount during any repair work. Before starting:
- Ensure the valve is isolated from the system and pressure is relieved.
- Use appropriate personal protective equipment (PPE).
- Follow proper procedures for handling tools and materials to prevent injuries
7. What should be done if issues persist after gate valve repair?
If issues persist or new problems arise after the repair, it’s advisable to consult with a professional or the valve manufacturer. There may be underlying issues that require expert assessment.
8. Can a gate valve be repaired without removing it from the pipeline?
Some minor repairs can be performed in place. Significant repairs typically require removing the gate valve from the pipeline. This allows for a thorough inspection and easier access to internal components. This ensures a more effective and lasting repair.
9. Is it necessary to shut off the entire system when repairing a gate valve?
Yes. It is crucial to isolate the gate valve from the system by shutting off the water supply and relieving any pressure. This ensures a safe working environment and prevents potential hazards during the repair process.
10. Are there specific considerations for repairing gate valves in different environments or industries?
Yes. The repair process may vary based on the industry and the gate valve’s environment. You should consider fluid type, temperature, and pressure conditions. It’s essential to adhere to industry-specific guidelines and standards during the repair.
Conclusion:
Repairing a gate valve is a practical skill that can save time and money. By following this step-by-step guide, you can confidently address common issues and extend the life of your gate valves. Regular maintenance and thorough inspections are crucial to preventing problems and ensuring the reliable operation. I hope you now understand how to repair a gate valve.